How To Fix a Leak in the Roof Around a Chimney ?
How To Fix a Leak in the Roof Around a Chimney?
Have you noticed water marks appearing around your chimney after it rains? Are you worried that the water could cause damage if not addressed? Well, you're not alone. Many homeowners discover leaks around the chimney at some point which can lead to bigger issues if not fixed. This article explores the most common causes of chimney roof leaks and the steps one can take to repair it.
Causes of Leak
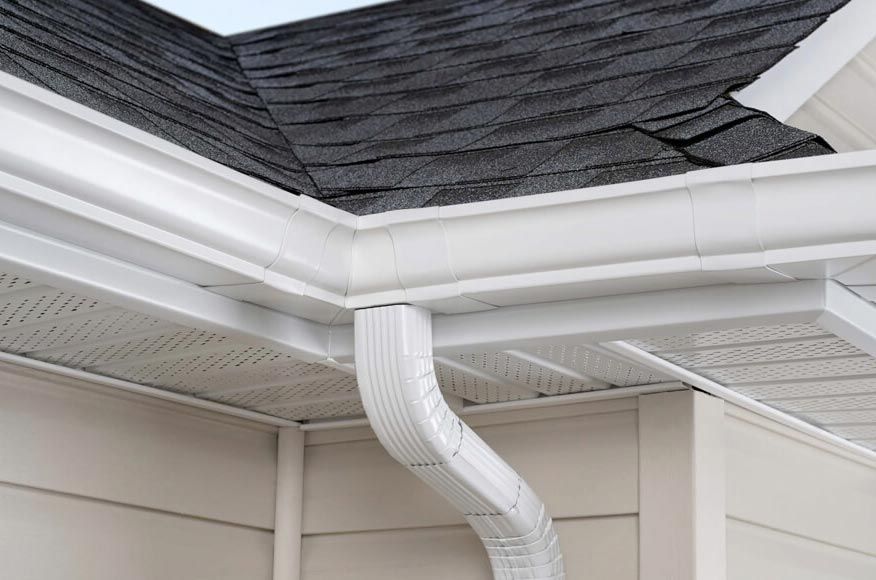
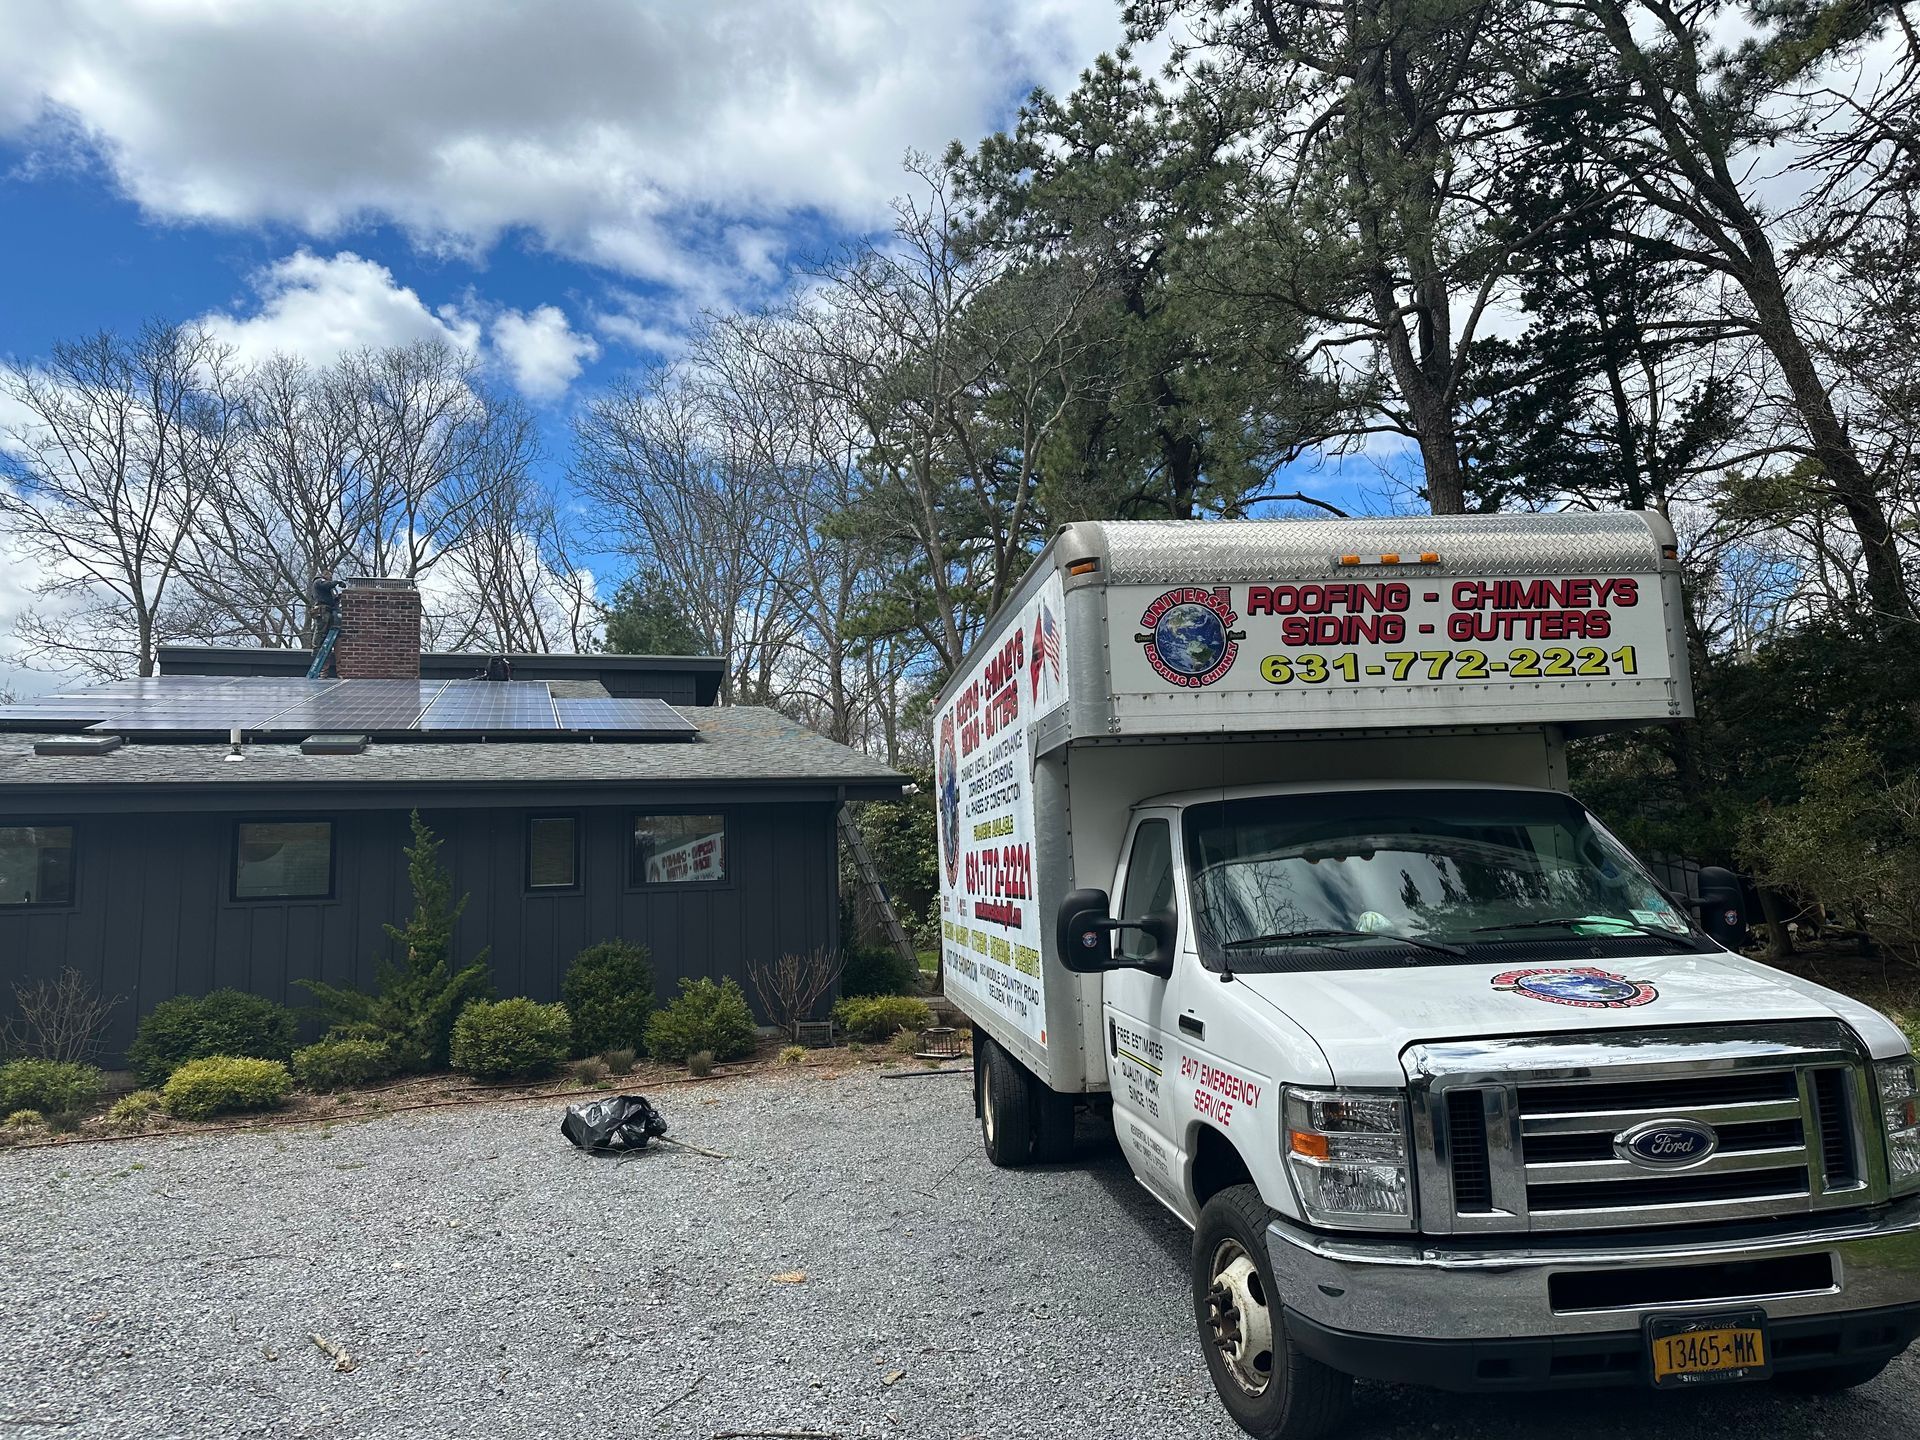
Improper flashing is one of the major reasons for water to seep through around the chimney. Flashing is the material used to seal the junction between two surfaces, such as between the chimney and the roof. Over time, the flashing can crack or wear out allowing water to slip through. Tree branches rubbing against the chimney can also damage the flashing. Chimney cracks are another reason for leaks. Damage from age, weather or animals can cause small fractures in the chimney which lets water inward. Missing, loose or damaged mortar between the chimney bricks also creates pathways for water to get in.
Repair Materials
To properly repair the roof-chimney junction, one would need to hire Roofing Companies Long Island which uses high quality roofing cement, roof flashing, felt, and mortar depending on the exact repair needed. Cement, such as asphalt roof cement, is used for sealing flashing to the chimney and roof. Flashing manufactured from galvanized metal or copper helps bridge the gap and seal the junction. Roll or tar paper provides a waterproof barrier under the shingles. Mortar is applied to re-seal any gaps between loose chimney bricks. It's best to use cement and mortar approved for masonry applications.
Inspecting the Flashing
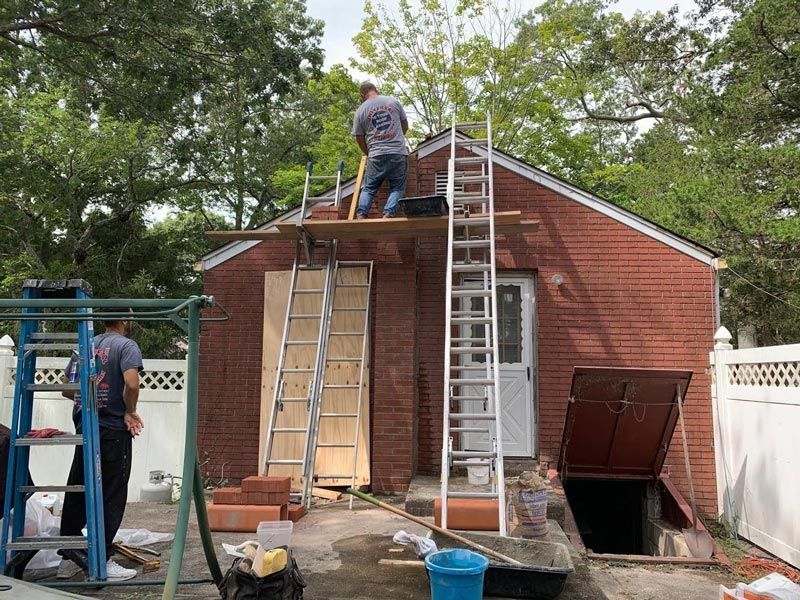
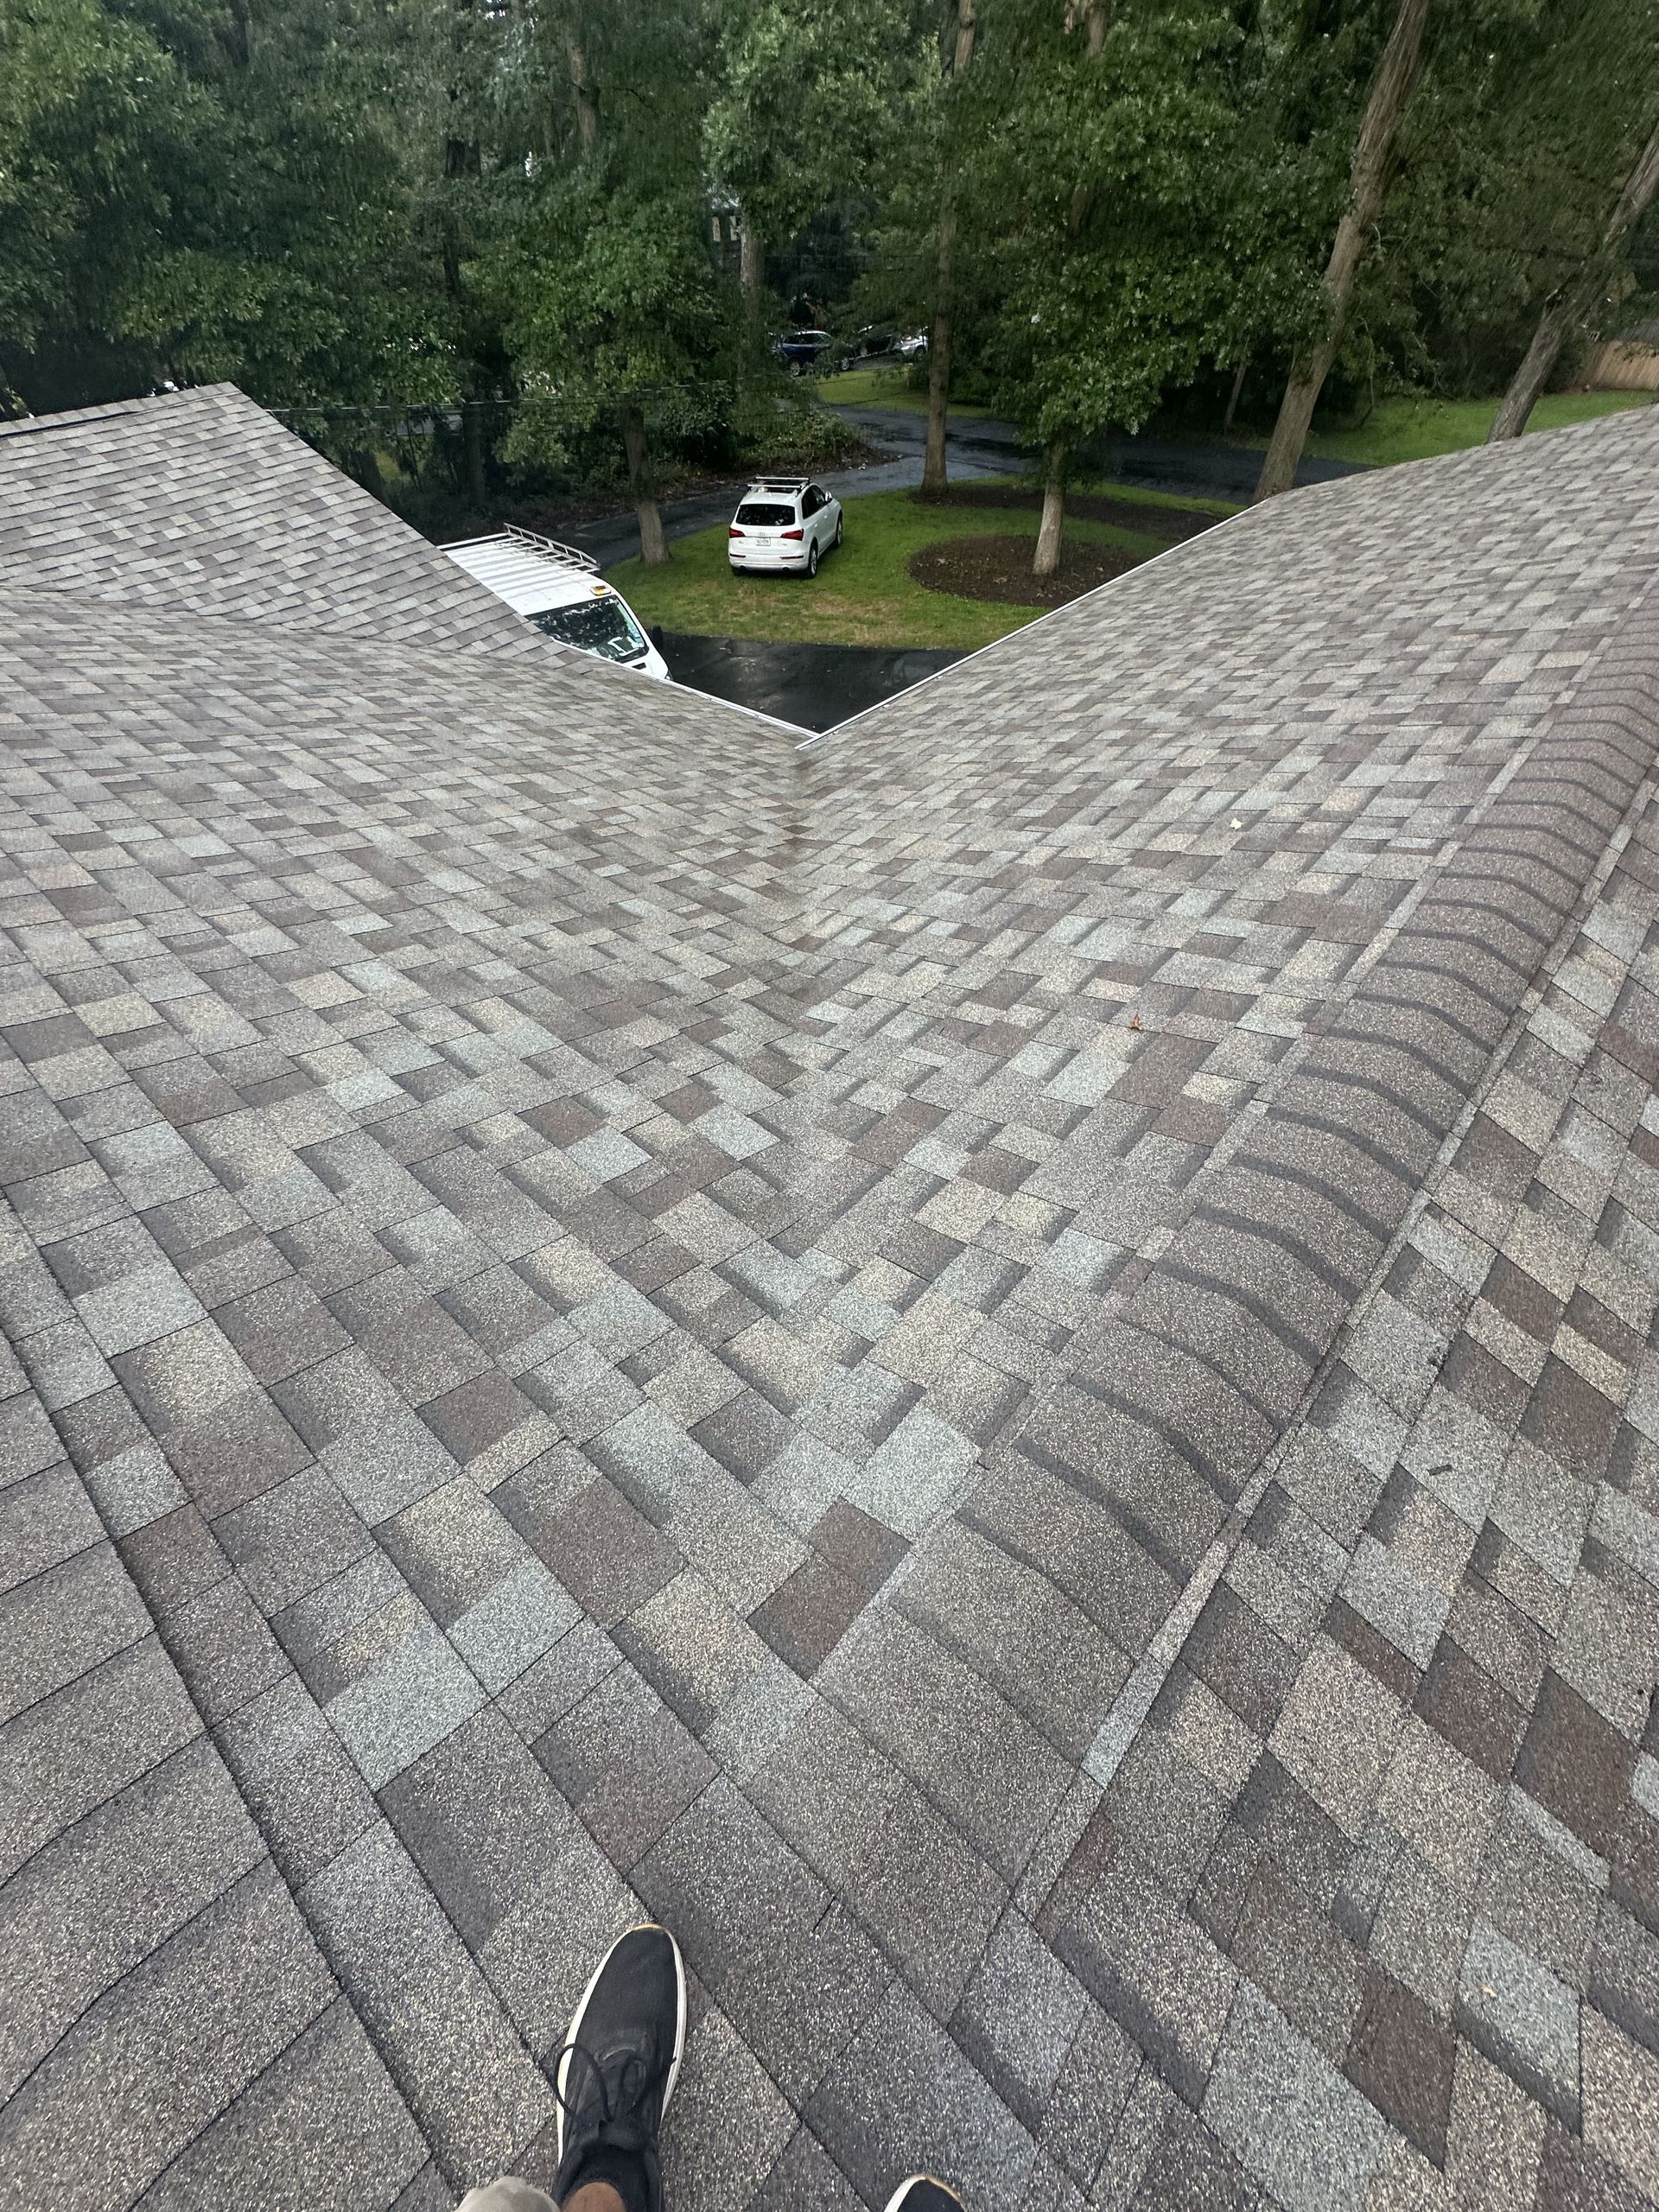
Once safely set up, the next key step is thoroughly inspecting the existing flashing and sealing around the chimney. Remove any built up debris, moss or leaves trapped against the flashing to get a clear view. The flashing material and chimney mortar joints are examined for cracks, holes or disconnected seams where water could enter. Pay attention to seams that are bent away from the chimney as these allow water a direct path in. Any cracked, missing or loose pieces observed should be marked for replacement or resealing later in the Gutter Repair Long Island.
Preparing the Chimney & Flashing Area
Before installing new flashing, the chimney surface and surrounding roof area must be prepped. Use a wire brush to scrub away loose dirt, moss and residue from the flashing and mortar seams. This will allow new sealing materials to fully adhere. Once clean, check for and fill any large cracks or holes in the chimney with mortar or roof cement. Let the filler fully dry. Finally, cut away any old flashing material with utility knives and pull off remaining pieces. Be sure the roof and chimney surfaces are entirely clean, dry and free of debris before proceeding.
Conclusion
Water leaks around chimneys tend to arise from the normal wear and tear over time on roof flashing and mortar joints. Thankfully, homeowners are often capable of safely addressing the problem themselves. By thoroughly cleaning, prepping and replacing damaged materials, a watertight seal can be re-established. Just be sure to use the proper Chimney Repair products, take safety precautions, and test repairs after completion.